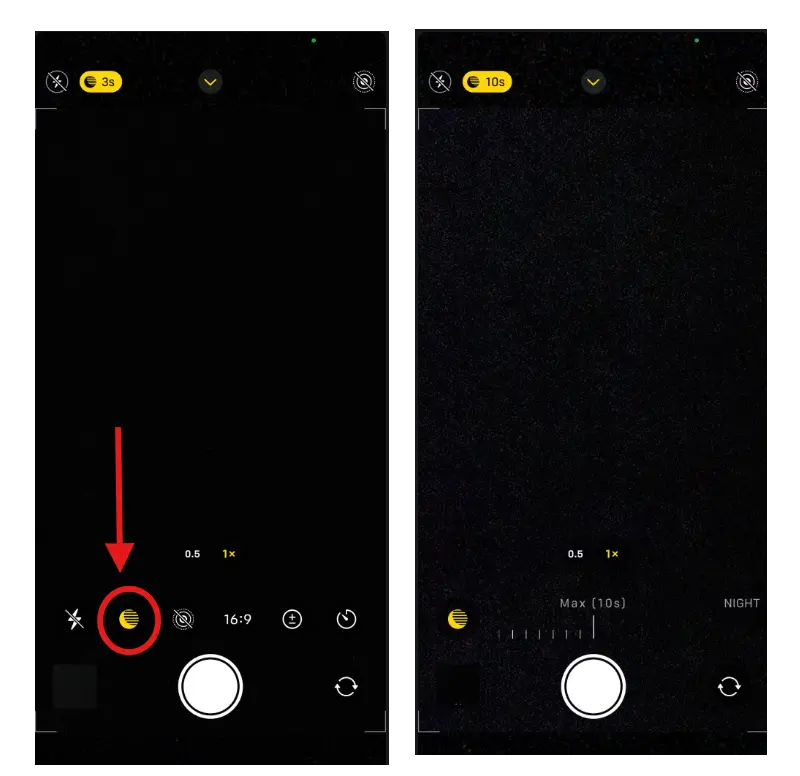
I love taking photos at night the city lights, the moonlit sky, there is this beauty about night photography. But for a long time, my night shots always came out blurry, grainy, or just too dark. Fortunately for me I was able to discover Night Mode on my iPhone. hurrayyy..
let me show you how to use Night Mode to capture stunning shots effortlessly
How to Turn on Night Mode on iPhone
The best part? You don’t even have to turn it on manually—it activates automatically in dark environments. But if you want to adjust it for even better results, here’s what I do:
- Open the Camera app on my iPhone.
- When in a low-light setting, I notice a small yellow Night Mode icon (it looks like a crescent moon) appear at the top.
- I tap the Night Mode icon to adjust the exposure time (longer exposure = brighter photo).
- I hold my phone steady while it captures the shot.

Tips for Taking the Best Night Photos
After experimenting with Night Mode, here are some things I do to get the best shots:
Use a tripod or steady surface – The steadier the phone, the sharper the image.
Find a light source – Streetlights, neon signs, or even the moon help add depth.
Adjust the exposure time – If it’s super dark, increasing the exposure helps capture more details.
Avoid using flash – Natural lighting looks way better than the harsh flash.


